5-8"s of new snow on the ground and spring is a month or so off, I've decided its time to reflect on another of my last summers projects which involves a Mary Shrine and flowers...
 Mary in the Tub...How many of us grew up with a Mary shrine in our yards? These shrines were beautiful purchased shrines or the cast iron bathtub. Even years ago people were attempting to upcycle! My mom still has her Mary shrine which she bought years ago. When my husband and I (hoe #2) and bought our first house we were "blessed" that the prior own left us numerous yard status and yes a Mary Shrine...otherwise known as bathtub Madonna, 1/2 tub Mary and etc. There is even the The Lady of Bathtub Appreciation Society blog! Secretly, I have often thought I could make millions on a Mary in the Tub coffee table book! Similar to this site, just pictures and locations!
The Mary above did not come from our yard but looks very similar to ours, with out Mary...the previous owners took her with them! The tub to the left came from our yard and brought with us to our 2nd home years later. Jim had great expectations that someone wanted this tub to use in their bathroom and so it sat for over 15years in our barn. I had seen at a local shop an upcycled tub and thought what a great idea!
After dragging the tub from the barn...remember cast iron, I started scrubbing. You can see I started on the bottom right corner. The outside was the worst from being buried I suppose.
After scrubbing, I started the painting. If you've read my other blogs, you already know that I use spray paint as much as possible...again I spray painted this project also.


See it turned out perfect!!!
(Right? and to the Right!)
(Right? and to the Right!)
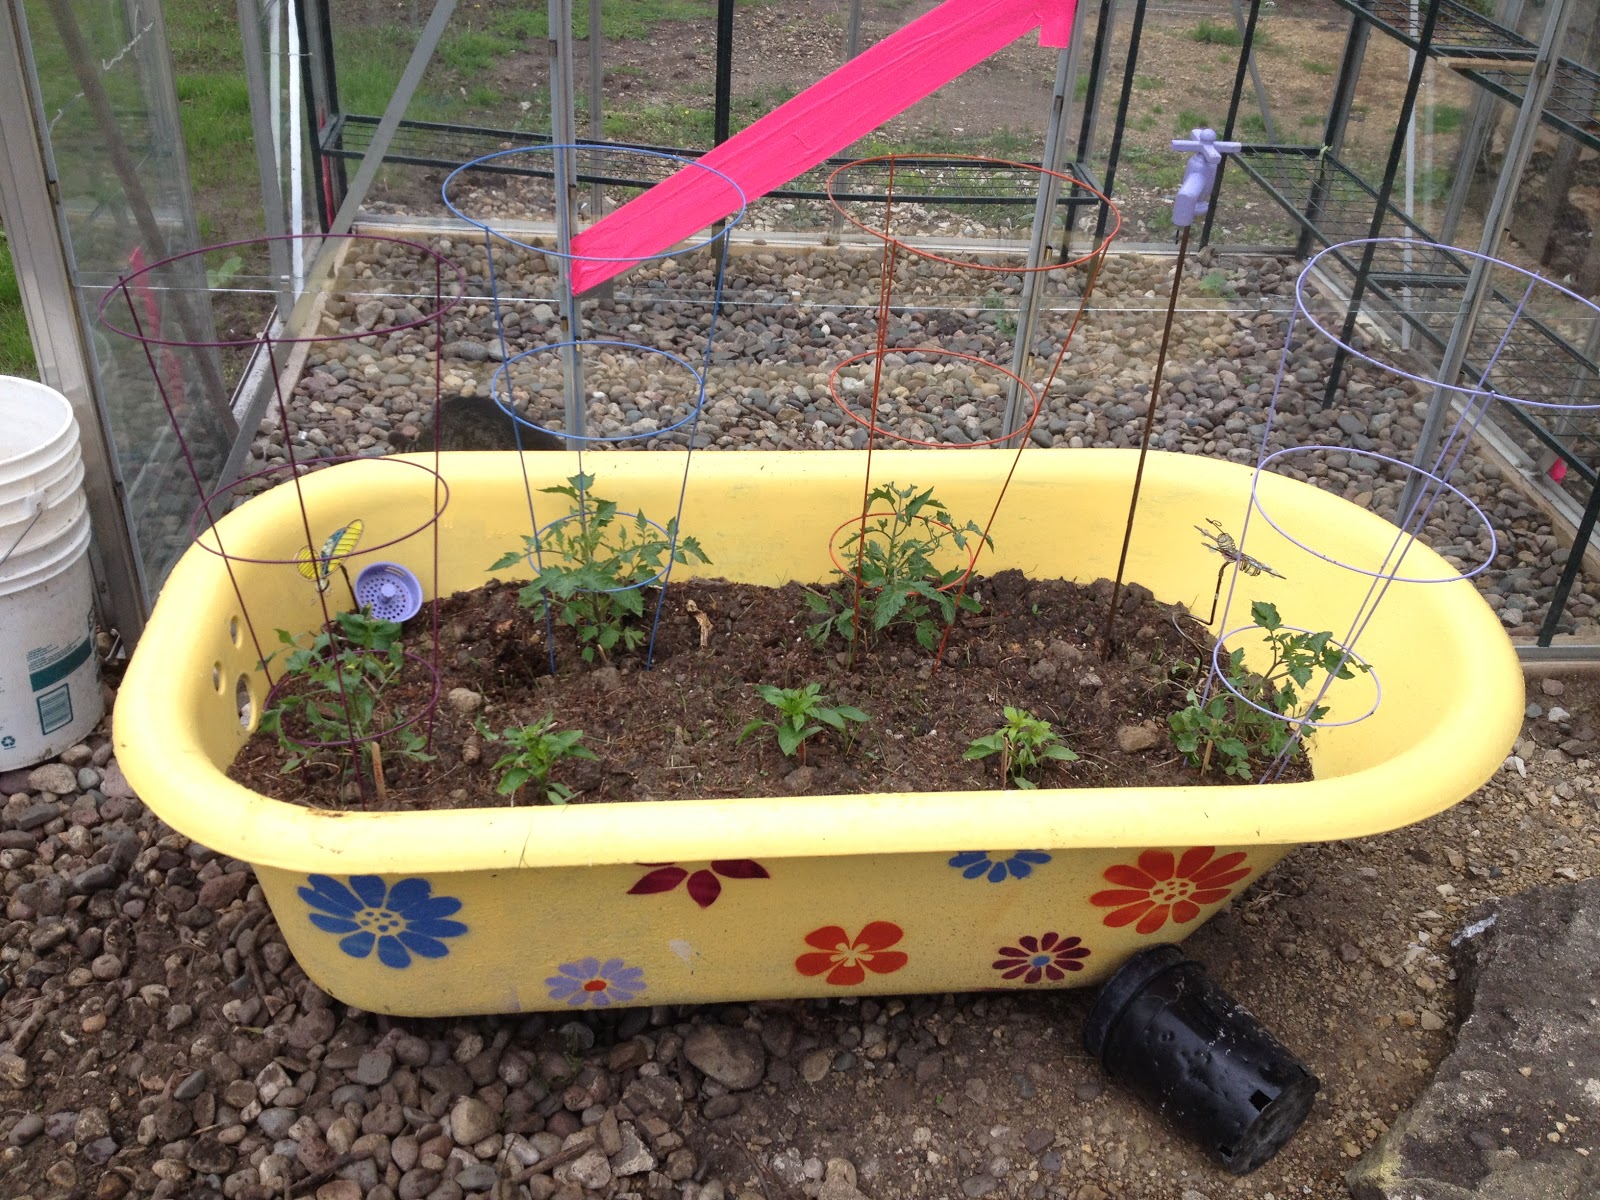
 And then came the fun part, designing the look. I knew I needed some sort of flower stencils but could not find what I wanted in the stores so I merely printed large flowers off my computer and cut them out to make my own stencil. When I was ready to spray paint, I taped the stencil to the tub and sprayed and moved onto the next. I jumped around to let the previous dry.
 Mind you this is not perfect. I can see issues and I am sure you can too if you look close enough but it is a whimsical way to repurpose the tub.
Next step of course put dirt in it and plants! This is the extent of a veggie garden for me! I even used the fun spray paint on the tomato cages!
And for the before and after pics!
 |
| Before |
 |
| After |
It was a fun little project that took a day to complete, of course the veggies (and weeds in front of it) all summer to grow!
Good luck upcycling your tubs and watch for the next blog "Winter Sowing in Zone 4"


